Showing posts with label sinful colors. Show all posts

Monday, October 20, 2014

Sinful Colors - Matte About Blue Swatch and Review

Hey everybun! Happy Bunday Monday.
As I said last week, I have weeks worth of polish to stored up in my polish folder. We'll be starting with this little lovely by Sinful Colors, Matte about Blue.
My local K-Mart is closing down and everything is 30% off, and you'll NEVER guess what I gravitated towards. Can you guess? If your answer is anything but polish, then you're wrong!
I was very interested to see that Sinful Colors had a matte/silk collection and this was the last one on the shelf!

Thursday, October 16, 2014

Sinful Colors Strawberry Nail Art

*I received this polish compliments of Influenster from the DLVoxBox

Hey everybun. It's been an absolutely CRAZY week! I took a little break from everything to work on recuperating from the craziness of the craft show this weekend. I have lots of nail things to show you next week, and this Friday Finds will NOT be posted since I haven't had time to look for finds this week.
Anyways, now that that's out of the way. Ready for some nail art? 
I received this polish in my DL Vox box, which I was so excited to see because polish is right up my alley (duh!)

Wednesday, June 4, 2014

Nail Art - Blue Glitter Gradient

Hey everybun!
Sometimes it seems that my most simple and easy ideas of nail art turn out the best. This is one of those times.


Sinful Colors - Hottie
Wet n Wild - Kaleidoscope


I am so so so so so much in love with these nails! I never ever want to take this polish off I love it sooo much!
It was so simple to do and it took less than 5 minutes for everything. I even did both hands!

Yay for simple yet stunning designs!

Hmm, there's not much more to say about this nail art other than it's clearly one of my favoritests. So how has your week been?
Happy hump day!


Friday, February 7, 2014

Valentines Day Mani #2 - Before and After

Hello all!
I've had a multitude of doctors appointments this week so I'm so sorry for the lack of posting.In other news, I had something set up with one of those deal websites and they completely and utterly cancelled on me, saying that they no longer sell beauty products, such as nail polish, because they had other problems with it in the past. Now these people literally just contacted me on the 15th of January. They didn't bother at all to tell me, after I bought over $200 in mini polish bottles and supplies, that they no longer wished to sell my product. I had to contact THEM and even then, they stopped responding to my emails after I told them that I put hours of effort and lots of money into creating mini grab bags that they requested from ME.
Ugh! I was so upset when this happened, I just made a whole new set of polishes I was so angry!
I guess I'm just left with 300 bottles of minis..I'll figure something cool out to do with them though.
Anyways, here's something a little bit more happy for you, some valentines day nail art WITH a before that I did when I first started my blog and after! 


Pinks I used: China Glaze : Passion for Petals, Sinful Colors : Outrages, Dream On and Island Coral
Base color : Zoya : Storm
I think my first attempt is an absolute FAIL but I really like how it came out this time around. I'll have one more before and after valentines day nail art before the valentines grand finale!
Have a happy, happy Friday ya'll!


Monday, December 30, 2013

Rambles of a Polish Addict Guest Post #2


Hi y'all! I'm Katherine from over at Rambles of a Polish Addict and Leesha asked me recently if I could do a guest post for her while she was away on vacation, and I came up with this fun dream catch nail art for you. Leesha reached out to me recently when my bunny passed away (sad face) and sent me a custom polish in Foofy's honor, which I've included in this mani as well.


For this look I used Sinful Colors Hazard as the base color. And two coats of the polish Leesha sent me on the ring finger for an accent. Just two coats and the glitter was nearly fully overing the base color, it's a total glitter bomb! Packed sooo full with all that glitter and it all looks so pretty on the nail, I love it.


For the rest of the details I did them all with acrylic paints in various colors and a tiny little detail nail art brush. It took me a while to think of something when Leesha asked if I'd like to do a guest post, of course I said yes right away, but then thinking of what to do.. that was harder. But then I thought of something I've been wanting to do for a while and never could find a reason to. And I also wanted to be sure it would be something different than what's been on my own blog lately, and since I've never done dream catchers and have been wanting to, it was perfect!


So I hope you all enjoy themeven if they were more bright and summery than necessary for these winter months.

If you'd like to see more of Katherines beautiful nail arts be sure to check out her blog
Rambles of a Polish Addict

Tuesday, November 26, 2013

KKCenterhk Review - Rabbit Water Decals

*This product was sent to me for review

Hello everybun! I have a lovely product to review from KKCenterhk, once again! Today I have for you the item by the name of N.NAIL Forest Rabbit Bunny Deer Bambi Squirrel Hamster Apple . The title, however deceivingly long it is, is actually just super cute images of a bunch of rabbits, some deer, some squirrels and apples as well as mushrooms and coconuts? I think they're coconuts. But anyways, the images are all super cute.!
Here is what it looks like

This was my first time using water decals. I looked up a tutorial on YouTube. But for those of you who don't know, basically it goes down like this.
1) Cut out the image you want
2) Take the plastic off of the top (just like a temporary tattoo!)
3) Submerge the image you cut out fully in a container of water (I used a mini cup) for about 20 seconds
4) Take the image out of the water and use your thumb to slide it off
5) Press the image down onto your nail and well-ah!


I crinkled a few of these images and was happy to see that they smoothed out as long as I fixed them quickly
This is without top coat, as I wanted to see how long they would last. (I was also afraid that seche might ruin it, turns out it doesn't!) And they lasted a few hours of me cleaning, taking a bath and doing dishes, with minimal scratches.
 These are $2.56 plus shipping. I LOVED these as my first experience with water decals!

Click above to be taken to their site!


Use code : LeeshasLacquer 
for 10% off of your purchase!

Thursday, November 21, 2013

Floral Frenchies

Hello everybun! Tomorrow I have a very exciting Black Friday Giveaway that I'm super excited for WOO! But I'm also really excited because I just got a new desk and desk lamp and so now my lighting looks FABULOUS. I barely even had to adjust the lighting for this!
The colors are almost exactly what they look like in real life now!
Wooo , have a floral frenchie as a celebration!
Sinful Colors - Slate
Sinful Colors - Black on Black
Sinful Colors - Unicorn
Sinful Colors - Island Coral
I'm excited, are you all as excited as I am? :D


Wednesday, August 21, 2013

Sinful Colors - What's Your Name Swatch

Hello Everybun and Happy Humpday!

I have a quick swatch for you here and that swatch would be Sinful Colors - What's Your Name.
I actually picked her up at Dollar Tree the other day. As well as the rest of their stock of Sinful Color polishes and a few Milani's (Addiction. I know!)


What's Your Name is a beautiful black based glittery wonder. This is 3 coats with Seche top coat. The bluish green shimmer that hits in certain lights is what really attracted me to it. 

Since this is so vampy, this further proves that no matter what season or what colors are in, I DON'T CARE! I'll wear white after labor day and red and green on easter. Oh yeah. That's rebellion.


Thursday, July 4, 2013

Happy 4th of July!

Hello all!

I usually don't post on Thursdays, but today is Independence day for the USA so I, of course, had to do nail art to mark the occasion.

Tonight it will be fireworks galore and you better bet I'm gonna get my fill of food at not 1 but 2 barbeques today!


The Colors I used were 
Sally Hansen - Tough Love
China Glaze - Man Hunt
Sinful Colors - Snow Me White
The glitters I used were
Sinful Colors - Nail Junkie
Shimmer - Ava
Wet n Wild - Kaleidascope
Sally Hansen - Crystal Beading


Happy 4th of July everyone!


Wednesday, June 5, 2013

KKCenterhk BLUESEA Rainbow Bowtie Review

Hello everybun!

I'm super duper excited because today I have a product to review from KKCenterhk
I received two items to review and today I will be reviewing their 
  *   BLUESEA Bowtie Rainbow Colours Nail Art Decoration [BLUESEA-VB03D]
Click the link above to see what I'm talkin' bout! 
Speaking of that, I noticed right when I got these cute little bowties that they look to be blue, yellow and pink in their picture, but in person they actually look green, yellow and pink.


That is no matter for what I had in mind for these BUT it is something to remember when purchasing this product. Of course, all computer monitors vary in color, but keep in mind in person these look green, yellow and pink.  


HELLO KITTY!!!!!!!

Yes, my love for hello kitty drove me to these bows the minute I saw them! They are obviously a little large (they do not lay flat on the nail), so they're not very practical for everyday wear, but for a night out these would be a lovely decoration. The exact sizing is 10mmX6mmX2mm.
On their page it says to use a little glue, but I just used my seche vite top coat and they're actually really sturdy. I've been wearing these for 3 hours now and have done various activities from putting on a jacket (a hello kitty jacket!) to eating and typing and these lovelies have yet to fall off.


The colors I used were
Finger Paints - Watermelon
ULTA - Limelight
Julep - Abbie
Sinful Colors - Snow Me White
and
Wet n Wild - Ebony Hates Chris

These Bowties retail for $4.00 for 2 bows. Shipping rates vary by weight. And WOO you can use them on acrylics, natural nails and uv nails.


Use code : LeeshasLacquer
for 10% off of your purchase!

* This product was sent to me for review 

Monday, June 3, 2013

Pow Wow Pow!

Hello everybun!
Ugh, I missed Sunday Bunday (make up pictures will be at the end of this post!) but again, I have a very good reason for it and I'll show you why!


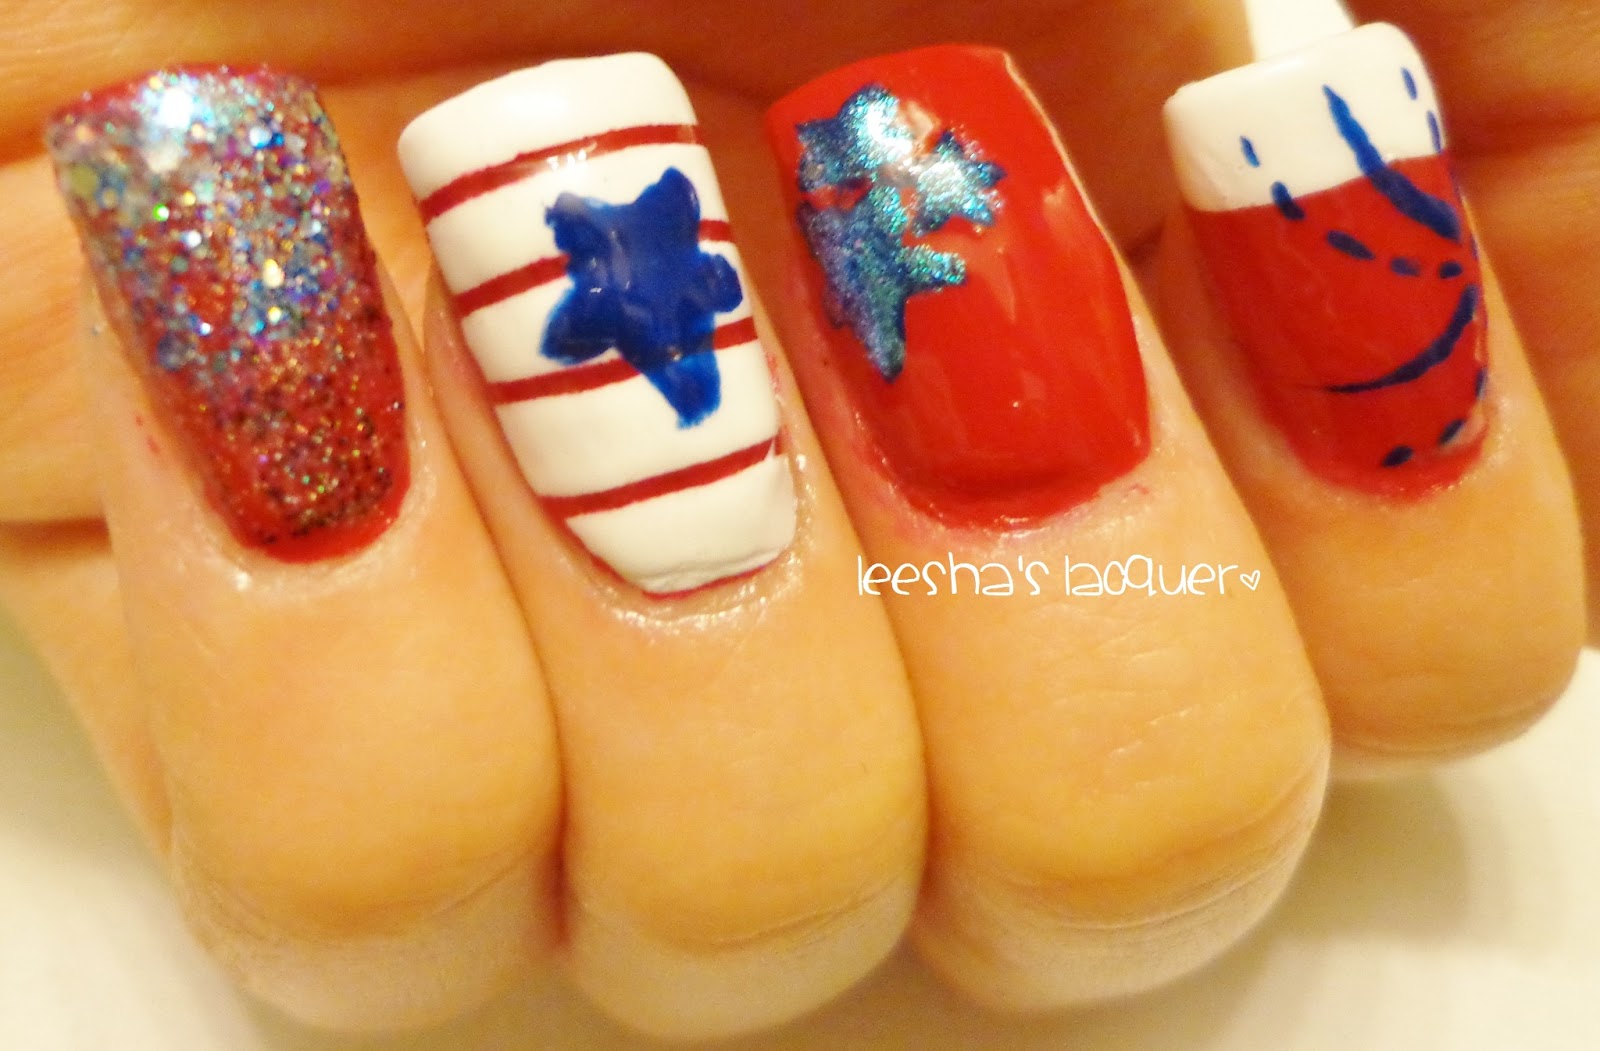
That's right! My first Polish from the Native American Collection. Well, this is actually the second in the line but I really wanted to show you guys this one first!

Pow Wow Pow is a super packed rainbow explosion of color. There's literally almost every color of glitter I own in here. There's black, silver, ROYGBIV, it's all here! It's called pow wow pow because at Pow Wow's there is always so much color going on, sometimes it's overwhelming!

I used the dab method above to create this gradient and I used Sinful Colors - Secret Admirer as a base. Even though I created this, I was surprised with how much I got with each pulling up of the brush! So it is jam packed with glitter! On my swatch stick it took 2 coats for a decent opacity where the undercolor popped through (I used yellow) but the glitter didn't overpower it.


 I spent all of yesterday mixing glitters and filling the bottles with glitter. There are 5 polishes in this collection of 5 bottles each. 

Since there is a lot to write about the blogger sample sets that I'm going to be mixin and makin soon, I'll just make a separate blog post about that! 

So yeah, I was super busy yesterday making sure all the labels were cool and making sure all the glitter was correctly proportioned and MAN is my back sore from moving around all day!

So, Sunday Bunday on a Monday, here we go!

So this is how they're set up in the living room!


Paprika

Harvey (In his box!)


Have a Bunderful Monday!

Love from Leesha's Lacquer
P.S Look forward to a review of a product I received from KKCenterhk on Wednesday! 


Sunday, April 28, 2013

Sunday Bunday : Spring Edition

Why hello and Happy Spring (Finally!)
Today it was actually nice and sort of hot in fact. The high was 74 degrees! We've actually been in quite a cold slump lately and this weathers definitely making me feel springy!

And what, of course, is the typical sign of spring? Flowers!

Flowers,Flowers,Flowers!


Flowers, Flowers, Flowers! Inspired by This, this this skirt (okay, I'm overkill on the repetition, nixing it now!)


The colors I used for this were
Maybelline Color Show - Born With It  as the base
Wet n Wild - Ebony Hates Chris  as the black
and
Sinful Colors - Canary Yellow  as, obviously, the yellow


And as per usual, it IS Sunday Bunday : Harvey's Day!
Here is the lovely bunny of the day!


Have a happy sunday bunday!

Love from Leesha's Lacquer


Monday, March 25, 2013

Ikat Nail Art

I know I said I'd post this Friday but then I accidentally forgot. OOPS!
So you get it today! I said I would use Sinful Colors - Cinderella as a base for some nail art. Well here it is!


Yes, this is the newest trend in nail art : The ikat trend. You've probably seen it everywhere and if not, well, you're seeing it here!

This is with no top coat because I liked the odd texture...

 I used :
Dark Blue - OPI - Blue My Mind! 
Medium blue - Black Poppy (unnamed) from pacsun
and the base was Sinful Colors - Cinderella 

...and this is with top coat because I was curious to see what it would look like with top coat after about an hour.


Really all the topcoat did was take away the texture. It looks well either way!

This was my first ikat and I really liked how it turned out! You don't need to be precise so it's like, who couldn't do this? I'll definitely play around with this some more because it was so easy!

Love from Leesha's Lacquer


Wednesday, March 20, 2013

Sinful Colors - Cinderella Swatch

Hello everyone, I suppose I'm a bit lazy this week and all I have for you today is a swatch, but I promise this Friday I'll have some awesome nail art to make up for it!

The swatch I have for you is  Sinful Colors - Cinderella


I used 2 coats of Sinful Colors - Snow me White underneath because the first time I used Cinderella it took me at least 6 coats for full opaqueness. Even with Snow me White it took me 4 coats for full opaqueness. Application was pretty good if not a little watery, but manageable.

This is without top coat and I (stupidly) decided to try a coat of Seche over this after I took my pictures and I'm pretty positive I'm experiencing the worst shrinking of shrinkage ever. It does look kind of cool though, the white looks like a halo around Cinderella.

This really does remind me of Cinderella, and her dress. I love the shimmer that changes from pink to yellow in certain lights.

I don't often enjoy plain nail polish on it's own unless it has some nail art, but with Cinderella, it's a different fairy tale (ha, i'm so punny!). It's one of those nail polishes where you can't stop looking at your nails every chance you get. 


It's such a lovely, lovely turquoise/baby blue. 

Friday's nail art may or may not involve Cinderella (Hint: It does!)

Love from Leesha's Lacquer